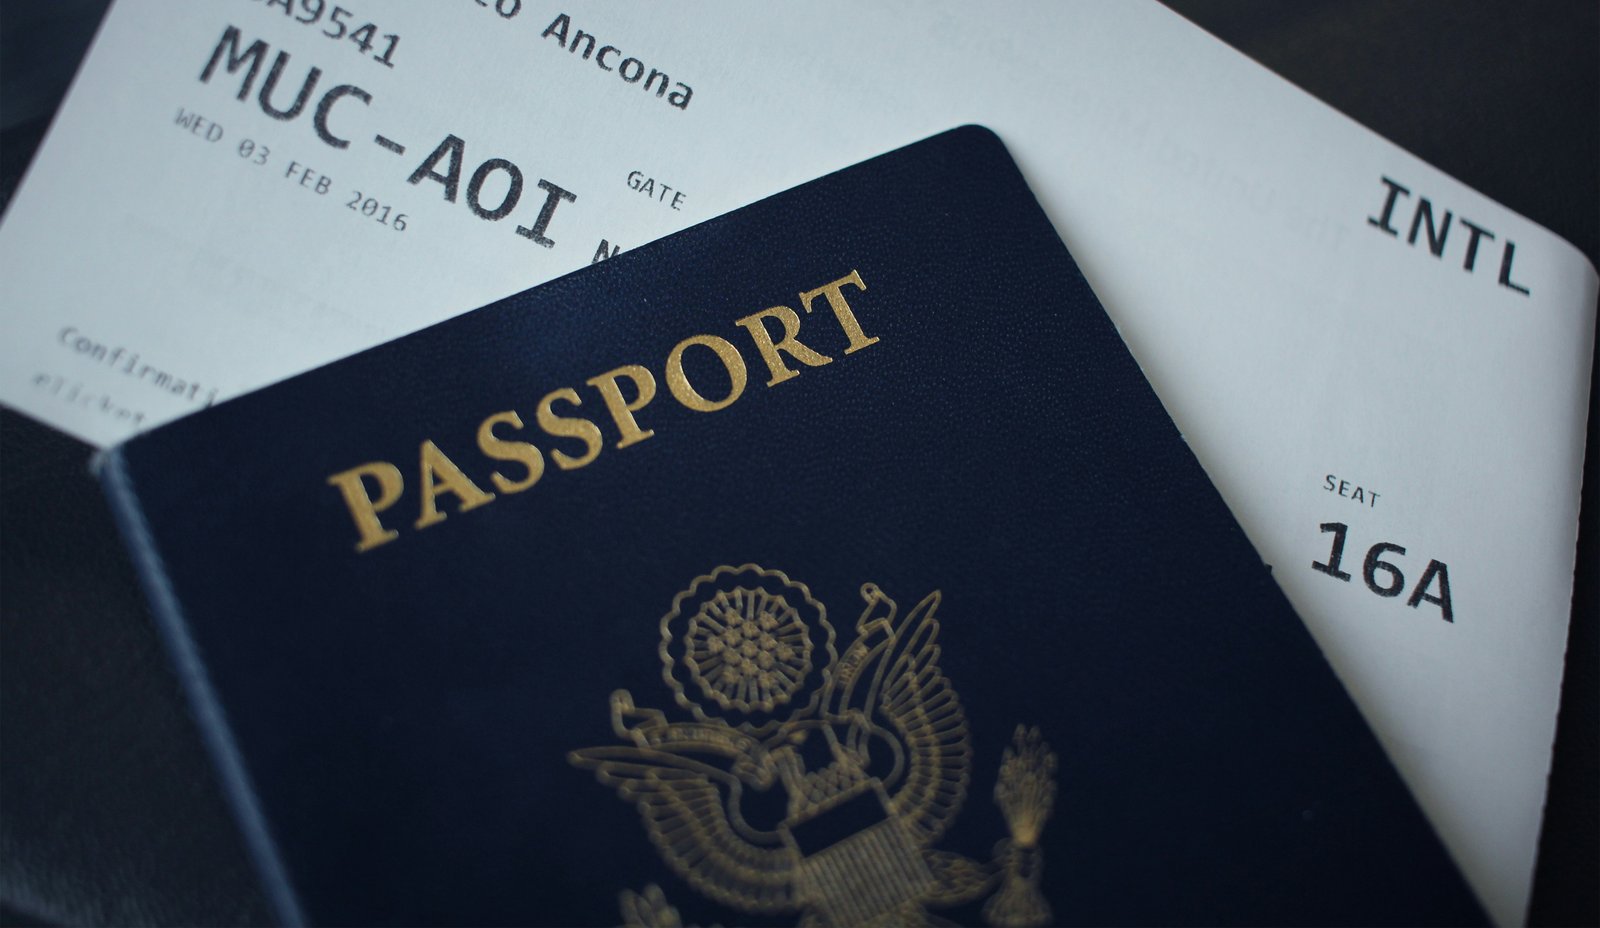
Passport, and in general, official photos are fundamentally different from what we post on social media and use for personal purposes. One of my friends had their passport photo rejected because the camera they took it with was of exceptionally high quality, however, there was a faint shadow on the background that was not allowed. As one can see, many people make the mistake of thinking that a nice camera is all they need, while in reality there are strict guidelines to follow.
For official use photographs are needed, which serve not only to identify the person and his appearance, but also pass through various checks such as biometric and other security tests. Therefore, great importance is attached to the background, lighting, location of the head, facial expression, and the overall size of the photo. There are many examples of people who had to renounce their plans to create a photo due to strict requirements, thus spending time and money on a failed attempt.
The purpose of this guide is to provide information on the most common passport photo rules and give helpful advice. In this article, I will discuss which background to choose, how to prepare the photo, and how to avoid mistakes.
What Background Color Do Passport Photos Require?
Many countries require for passport photograph, visa photo or an identity card photo that the background is white or a similar color. The background color of your passport photo or visa photo can be different in every country. It is important that the background is light or similar to white because in that case the features are best visible, which facilitates the process of identification.
When taking pictures at home, people tend to take them against a wall, which actually isn't white in color because on the picture it looks white, but after developing the photo, you can see some patterns or drawings on it. This may be barely visible on the computer camera; however, when the photo is enlarged, it will be clearly visible. This is why the background should be as simple as possible.
US Passport Photo Requirements: A Quick Checklist
United States has very strict passport photo requirements, because of that we think that United States passport photo rules are universal. Below you can see the requirements which apply only to United States passports. Photo rules for other countries can be different. Please make sure to review the latest regulations of the country which passport or visa you are applying for, prior to submitting your photo.
- Your photo must be 2x2 inches/ 51x51mm
- The background must be plain white or off-white
- Your face must be visible to the camera with your full profile
- Make a neutral expression while keeping your eyes open
- Your head must be centered and in the photo frame.
- Avoid eyeglasses unless approval has been given to use them
- The photo must be recent and taken within the last 6 months with no digital filters applied
Taking a Compliant Passport Photo at Home
You may not always need a photo studio to take a passport photo. It is even possible to use a regular room, properly illuminated and without distracting elements so that you can take a photo of the required background.
First of all, choose a plain white background. It could be a white wall, but if you don’t have one, a large white sheet hung on the back of you will also work.
The wall or sheet should not only be white, but also wrinkle-free, pattern-free. Moreover, pay attention to the lighting since you need to avoid shadows. To do that, you could use a natural light source or you could use two lights on both sides of your face. Another idea is to avoid using overhead light sources where possible.
Finally, in order to take your photo we need you to position your phone or camera to eye level. You should also be back to the point where your shadows do not cast onto your body. Secondly, your camera should be facing you, and make sure it is not pointing at an angle.
DIY vs Professional: Which Is Actually Safer?
The main advantage of DIY passport photo is flexibility. You can make several attempts to create a photo at home. Moreover, you can choose the lighting and the background. In addition, it is possible to take a photo using the camera on your smartphone and some simple background. All that is required for this is to study the requirements and ensure that everything is properly done before handing over the document.
However, the biggest problem at the practical level is confidence. When taking photos of yourself, to some extent, you have to estimate the size, position of the head, the quality of the background, crop, and lighting. Even if you take a good picture but when you upload it for verification, the system will show you that, the head in the photo is not in the right place according to the given proportions. Consequently, this might slow down the entire process.
The need for professional photo services becomes apparent precisely when documentation is most needed: when a photo session is urgent or a passport photo is due. Professional photographers know the reasons for passport and visa photo rejection. People do not sign up for photo sessions because they cannot take a picture of themselves; They do it to reduce the risk.
If you have the time and can manage to meet all the requirements, then of course DIY is the best option. However, if it is an urgent case, an embassy or visa appointment matter, or if you simply wish to avoid the risk of being declined, a professional service may save you both time and money in the long run.
Conclusion
Preparing a passport or ID photo is not a hard task, but there are many details that should be taken into account. A lot of photos are rejected because of such conditions as background color, lighting, size, and image quality, or the way the person looks in the picture.
Before you upload, take the time to research the requirements for your state, or what ever document you're uploading your photo for.Make sure that your background matches the required color, image size,type resolution,the lighting, and last but not least quality of the image.
However, if you want help preparing an appropriate background, as well as editing images for passport and ID photo processing, then BG Erasers is here to help. Just keep in mind that you must ensure that the final image meets the requirements of the relevant authority.