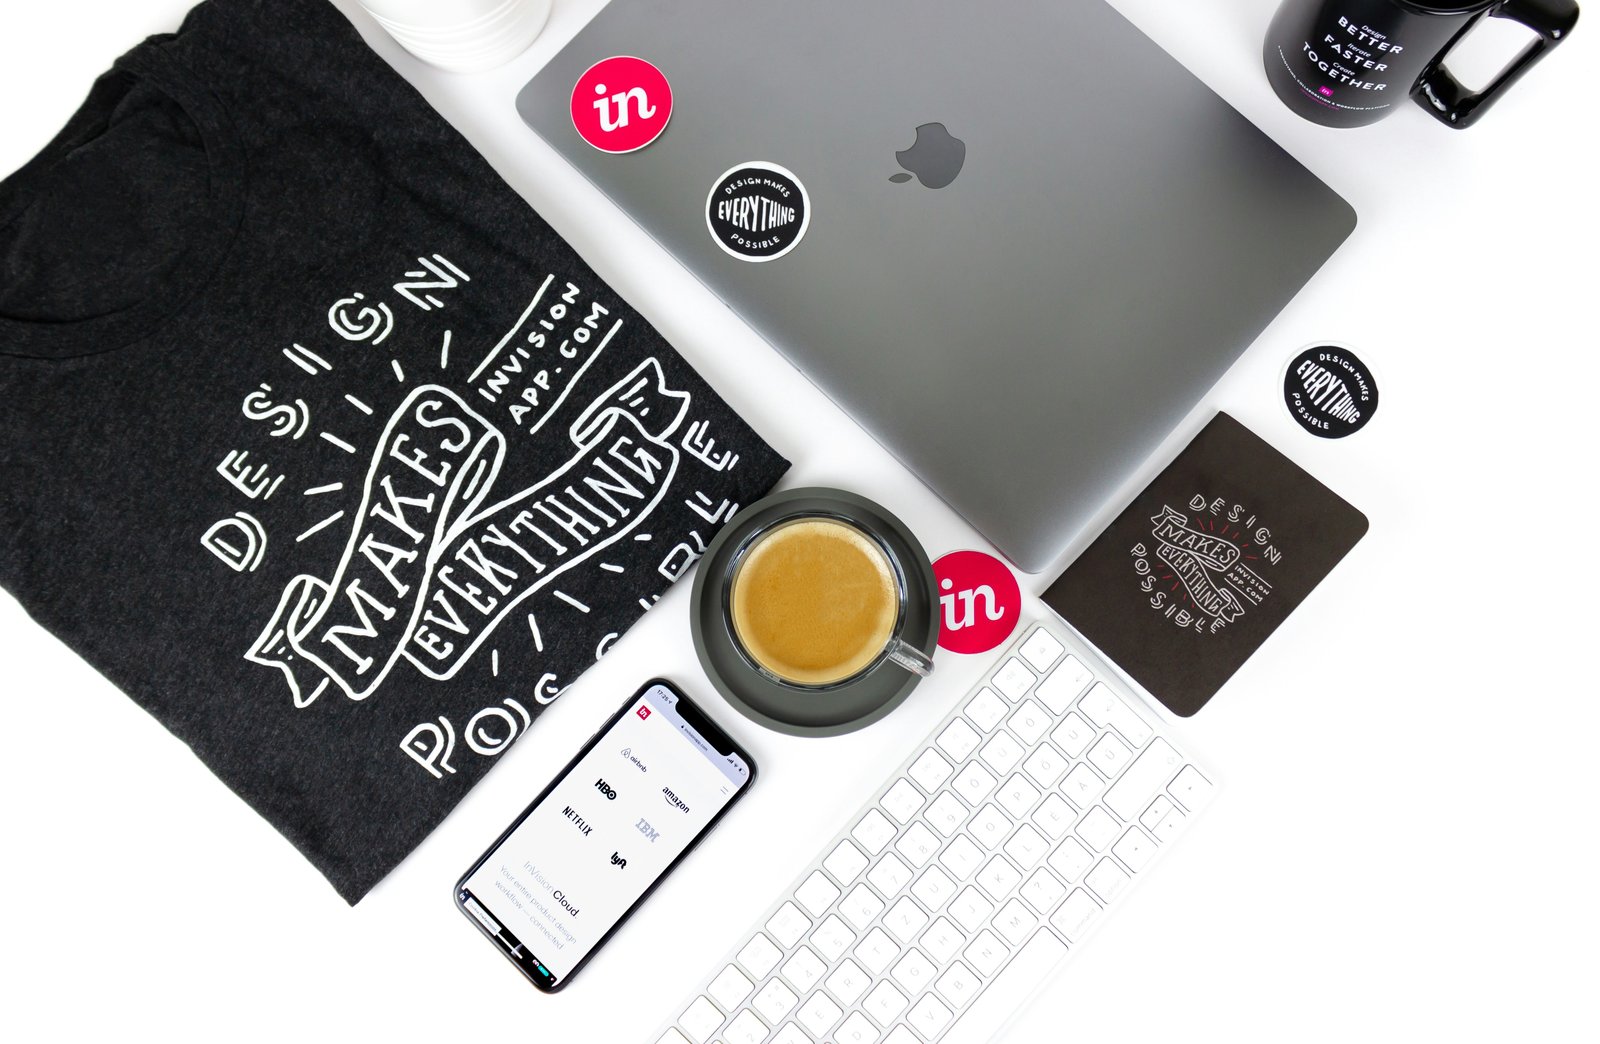
If you are selling print on demand products, your design files should always be clean, clear and easy to read, including not only t-shirts, but also other products such as mugs, cases and stickers. A design that has too many elements behind it can look unprofessional no matter what kind of product is being printed.
This is why background removal is such a vital part of the production process for print on demand products. Most print on demand services request that files be completely transparent so that they can be layered onto other images for preview and upload to their database. Having files with no background also makes it easier to edit and produce mock ups of the product, as well as display them within your own store.
In this article you will learn about the role background removal plays within the print on demand process, when to remove one, how to store them once they have been prepared, what file formats are most appropriate to use and the mistakes sellers commonly make when attempting this task themselves.
By learning about these topics we can provide you with a solid foundation for preparing files for printing so that you can get high quality prints every time you upload one.
Preparing Print Files the Right Way
The most popular files that are used in Print on Demand (POD) are the transparent PNG files. They are transparent in the background and have only the image or graphic, on which the background is not displayed - only the foreground image is. For example, if you have a PNG file with a white background, it would look great on a white T-shirt - but not so good on a black one. In this case, instead of white, the black color from the T-shirt would be seen as the design of the shirt.
Transparency also has a psychological effect that many novice sellers forget about. If there is nothing behind a particular design, it looks more luxurious and high-quality. In addition, the buyer will not be distracted by guessing what figures or signs can be seen on the borders of the frames.
Let me explain with simple example in online stores that 2 products are practically identical except for the transparent artwork and I think the one with transparency looks so much nicer. Especially if you're selling stickers, if there's a square or rectangle around the image you're covering up the actual shape of the sticker which will make it look less nice than if it were just transparent.
The popularity of the PNG format is due not only to the availability of the transparency function but also to its reliability. Print providers value the predictability of the output. JPEG file format does not support transparency and if you save your image in this format, the transparent part will be converted to a white color.
If you have a png file of the design it makes easier for print providers to print the image on various products. A transparent background usually indicates that the image is printable and minimizes the possibility that something will be printed wrong. It also means that transparent png files have become a standard for selling designs on print on demand sites.
Preparing Print Files the Right Way
Many new sellers think that designing and uploading the image is all that is required; however, preparing the file for print is a separate process. There is a noticeable difference between what appears on a display and how it looks when printed; hence, something that looks nice on the computer screen may not necessarily appear the same when printed.
I saw one seller who would design something for social media and then upload the same file to a print on demand website. The thing is, the same file looked good on the screen but was bad quality when printed. It wasn't the design fault, but rather the print files preparation. Sellers who know what they are doing will not upload the file right away after designing, they will do a few quality checks to make sure everything looks good.
To create a print-ready file, the canvas size must be correct first; this refers to the width and height of the design. Different POD platforms and products have different requirements, so it is essential that you look at the guidelines provided by each platform before uploading anything. Most POD companies require a resolution of 300 DPI (dots per inch) which is high enough to print the design clearly.
Do not forget to delete the background from your design because your product will look more professional with a transparent background. Then, you just need to save the image in PNG format, which is compatible with most of the Print-on-Demand services.
Verify this checklist before printing:
- Background deleted
- PNG format
- 300 DPI
- Correct canvas size
- Centered and placed
- No shadows, pixels, or low-resolution elements
- All characters look clear in large size
Most printing problems occur due to file preparation, not the printing process itself. You can save time and effort by double-checking your file to ensure that everything is perfect before sending it to the print shop.
Background Removal for T-Shirts and Apparel Designs
The difference of removing background from T-shirts and other clothes in comparison with other Print on Demand categories such as mugs or posters is that the surface which will be printed is not unique. When working with clothing, colors, materials, and quality of fabric can be different, so it is necessary to prepare the image that will suit all types of clothes.
Stray pixels are those pixels that are left on the image while editing, which often are not noticed due to the white background, making a person think that everything is fine. Stray pixels are some unnecessary dots or lines left after erasing the background of the image, so they often are not noticed by beginners, who think that their work is done properly.
Creating Product Mockups with Background Removal
Product mockups help to represent the design better to the customer. It is one thing to see the design file, but being able to see on the front page how the design will turn out on a t-shirt, mug, tote bag, or case helps them make a decision faster and easier.
That is why background removal is so important. By having a transparent design, it will allow you to place the design over the template without having to worry about the white box that was part of the background in the beginning.
The design will have more appeal to the customer when it matches the background it is being shown against.
Many POD sellers will use the same transparent PNG in multiple mockups. You would not have to change the background for every single t-shirt template you want to use for that design. It will allow you to put the same design on different colors, different shirts, and even different photos in the same listing.
Having high-quality mockups on your store listings will give your store a more professional appearance. Many shoppers will look at multiple stores selling similar things before choosing which one to buy from. If yours has a better appearance than the rest, you are more likely to keep that customer for future purchases.
Mockups are not just for making the design more appealing, they actually help to educate the customer on what they are seeing and help them make a better choice for their needs.
Creating Realistic Product Photos for Your Store
Good design is certainly important, but I think design isn't everything when it comes to an online store. Most often, people take a closer look at your images, not the design. That is why images need to be of good quality and composition.
One lesser-known advantage of removing backgrounds is branding. Having a common background in all of your store photos provides a sense of cohesion that helps the catalog look more organized. This will make customers feel like they are shopping on an established website, as opposed to a random collection of items.
Here is one of the simplest examples of this. If you are selling mugs, T-shirts, and stickers, you can use different styles of mockup for each category and still keep the same one for the goods in similar categories. This way it will be easy for customers to compare products and create a visually appealing store.
Background removal will help you achieve a good design. You will notice that some of your pictures have different backgrounds. It can be distracting for a customer to see an image of a product in a room while the other is on the white background. Good design requires consistency, which you will achieve by removing unnecessary backgrounds.
Common Mistakes That Get Designs Rejected
It is hard to say if the majority of rejections on print-on-demand services are due to design in general, but rejections in most cases are caused by few mistakes that could be avoided before uploading the order. Additionally, one should understand that experienced sellers are not basing their judgment only on the design they see.
Incomplete background removal is among the most frequent errors. Even when the background has already been taken away, some of the original background may still remain on the borders of the image. This is hardly visible when looking at the image on a screen; however, it will be very noticeable when printed.
Errors related to resolution and file format are also common reasons that the print order may be rejected or may turn out to be bad quality. Additionally, some people like to download the images from various sources on the internet and upload them directly to a POD service without checking if the image is appropriate for printing.
Every print on demand marketplace has technical specifications, assuming that your file works on one service doesn't mean it will work on another, this could end up costing you money.
The work habit of the final check can prevent many troubles. Many professional sellers examine the file one more time before uploading it. It allows to avoid misalignment, lack of transparency, and incorrect size.
A good practice would be to step away from the computer and then come back to the image and see what changes can be made. Many times you can find spots that you might of missed when you were working on the image. Sometimes the biggest key to success when doing any kind of POD work is to have discipline when working, and checking your images to perfection
Conclusion
Successful print-on-demand products require pristine files. From background removal and creating transparent PNGs to print-ready design preparation and mockup making - all steps influence the visual quality of the final products and how they represent the seller’s store. The quality of a product listing heavily depends on the listing photos and their overall visual appearance. Therefore, it is essential to leave no loose ends when designing items for print-on-demand selling platforms.
Now, take a closer look at your design and listing photos. Make sure there are no possible enhancement areas, such as background removal, improper files, or low resolution. Save yourself the hassle by eliminating all imperfection and providing precise design specifications for every product item. If you need help with background erasure, you can use BG Erasers to achieve the best results right away.
This tool can be used in many ways, including transparent design creation and product listing photo editing. It can be used by designers or anyone looking to make money with print-on-demand.