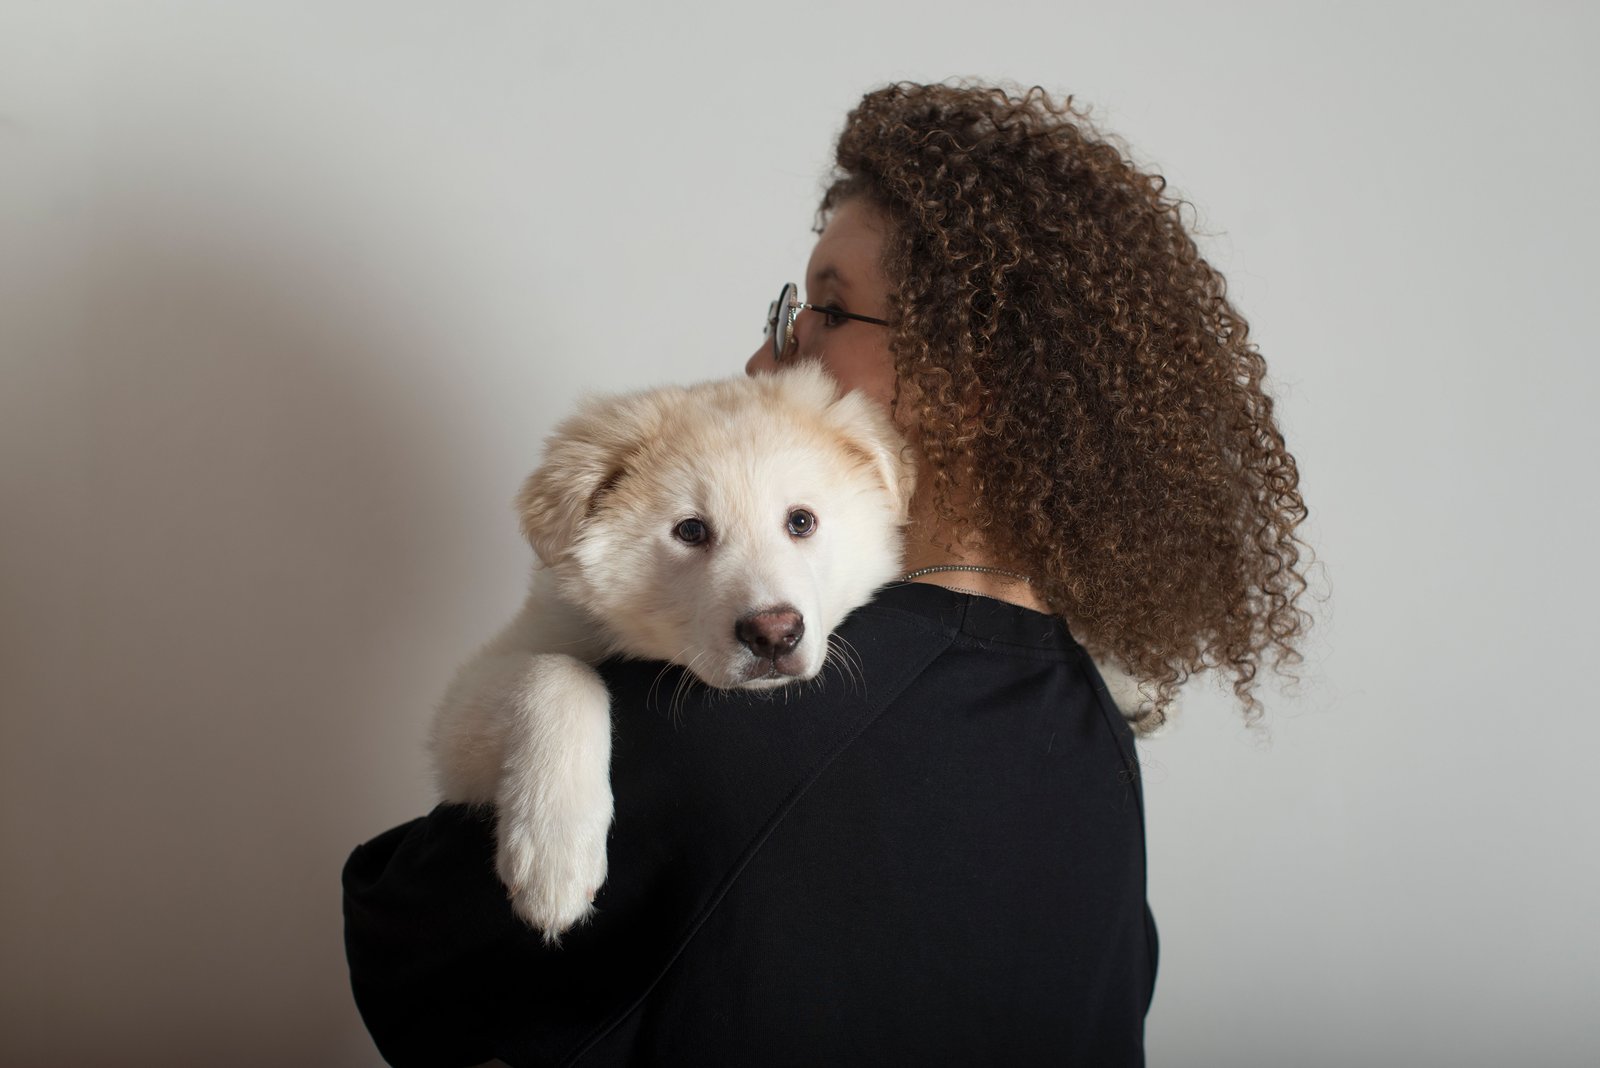
The process of removing background from a product, logo or any other item is usually a quick task. But when it comes to hair and fur, it is challenging to remove background from hair and fur because it consists of very small elements, such as strands, edges, and other details.
These parts are hard to separate from the image. If you make a mistake while working on them, the final image may not look good and its overall appearance could be damaged.
Also, if these parts are not separated carefully, some important parts of the background may disappear from the final image, which would not get you the result you want.
As we are living in the modern era of technology, today's technologies allow us to remove the background of any image with great precision. As such, it is now possible to achieve excellent results while maintaining all the minor strands or details.
This article will show advanced methods of removing backgrounds with hair and fur in 2026 and help avoid the most common mistakes during the process.
Why Hair Is the Hardest Element to Work With
If an image contains hairs it becomes a complicated task to remove the background from that image. If you want to remove the wall from the back of a shirt, its very easy but if you want to remove the hair background it becomes difficult because a single hair strands can be thin, blurry, or even partly transparent. This makes it hard to separate them from the background without losing important details.The challenge becomes even bigger because hair rarely has a clean outline. Some strands stick out in different directions, creating an uneven edge around the subject. Instead of a clear shape, you get multiple tiny lines that are difficult for editing tools to detect accurately. All these qualities make hair challenging to separate from the background during photo editing.
Things get harder when the hair color is close to the background color. For example, light brown hair against a beige wall can confuse editing tools because both colors blend together. As a result, the software cannot distinguish between the two colors and leaves some elements of the background in the image.
The simplest selection tools often use edges to separate one object from another. However, if someone wants to remove the background from an image with hair, these tools will not be helpful. Strands of hair have an undefined shape with irregular lines in some places and do not have hard edges, thus being unlike objects of a solid shape. Furthermore, there are some pictures where the hairs are scattered, which makes it even more difficult to select them. That's why hair is often the toughest part of any background removal job.
Mastering Refine Edge and Select-and-Mask Tools
The Refine Edge and Select-and-Mask are advanced tools that help you select hair and fur or anything that has a very fine edge. If you use the normal selection tool, the small hair strands often don’t get selected, which makes zyour image rough. But Refine Edge and Select-and-Mask has an option for searching for the strands of hair and making the selection smoother and more accurate than most other tools.
First, make a rough selection of the object you want to select; the selection doesn't need to be perfect and it is enough if the majority of the object is selected. Then, it should be opened in the Select and Mask or Refine Edge workspace. Now, select the Refine Edge brush and use it on hair, fur, or where you want. It is necessary to move the tool over the hairline slowly to ensure that each strand is captured individually.
Radius, Feather, Contrast, and Shift Edge are Photoshop options that control the edges of a selection. You can achieve better results by making slight adjustments to these settings. If you use large values, it will blur hairs or make them disappear.
Every image is different; therefore, the settings for Radius, Feather, Contrast, and Shift Edge also vary for each image. Settings that work perfectly for one photo do not necessarily yield good results for another. Experiment with the settings and see which one matches your image. In this way, the best settings will be found for your image.
As a result, the tools will be able to capture the fine strands of hair, making the final image look better than if using other techniques.
Understanding Alpha Channels for Hair Masking
The Alpha Channel is one of the special masking methods that uses the image’s color and contrast to make selections. When an image contains elements with very thin or complex edges, such as hair and fur, it is hard to select them precisely using standard tools. The alpha channel makes this task easier.
First of all, an alpha channel is a grayscale version of the image you intend to mask. Using the black and white colors, you set what parts of the image are transparent (black) and what part stays (white). When it comes to hair, using an alpha channel is useful because strands are usually transparent.
If you apply a standard mask to the object, it will simply be hidden, but with the help of the alpha channel, you will be able to determine whether this object should be partially invisible, say, 50 percent, or fully visible, that is, 100 percent. So, to create an alpha channel, you need to choose which color channel to use for masking with the best visible edges and highlight the contrast to your liking.
This masking technique is for those who want full control over their selections. You can do many more things with an alpha channel than with any other type of mask. You can manually go through every strand of hair and define its transparency level.
Creating an alpha channel takes more time and effort because it involves selecting channels, adjusting contrast, and refining the mask. But the final result is far superior. A mask created using an alpha channel is of much higher quality and has edges that look cleaner and more natural.
Fixing Common Edge Artifacts
Sometimes when you remove the background of a photo, some marks are left behind, such as halos, jagged edges, and color fringes these are the most common types. Mostly, these marks are formed due to low image resolution or incorrect background removal.
A halo is an undesired bright or dark ring around objects. It appears when some background parts are not properly removed from the image borders.Now, thec olor fringing occurs when the background color blends with the edges of an object. For example, the background was blue and the hair was black, and after removing the background, a faint blue line appears along the edges of the hair. This is known as color fringing. It makes the hair strands or other fine details appear tinted with some additional colors. These artifacts are especially noticeable when the model has dark hair against a light background. Finally, jagged edges could be spotted when the selection was not made precisely enough. This could also happen due to low resolution, so that the image pixels are clearly visible on the edges.
First of all, it is essential to define what kind of artifact is present in the image. In case of extra background color on the edges, it should be removed using a special ‘defringe’ tool. It is a popular function in most photo editing software that allows to precisely eliminate undesired edges of the selected area.
The "edge smoothing" is another option to make image edges cleaner and smoother. However, it should be applied wisely not to destroy the fine details of hair strands. That is why it is better to make several small steps to smooth the edges rather than one big operation. Altogether, each of the mentioned above steps should be performed a few times to achieve the best result.
Handling Flyaway Hairs the Right Way
Flyaways are always the most challenging part of a hair selection. They are those pesky little hairs that appear along a hair strand’s outline. Usually, they seem almost invisible, so most automated selection methods miss them completely.
The solution is to go layer by layer. First, make the major selection, deleting the background. Then, zoom in and carefully examine the edges. If you see some stray hairs that should be part of the selected area, use another mask or a new layer to add them.
Don’t try to do everything perfectly at once because it may cause distractions at that time, just concentrate on areas where selection is difficult, such as the edges of the hair. In this way you can complete your task quickly. And When you do the final check, it will also be easier to refine any imperfections.
The most common mistake of the beginner is to try to include everything that is visible in the final image. This means they try to include every visible hair in the selection. The edges of a hairs are naturally uneven and irregular. If you make every edge perfectly smooth, it will look fake or artificial.
For a realistic image, it is not necessary for every single strand to be clearly visible in the image because the human eye sees the general look of the image and if some very fine or small hairs are missed, the picture can still look natural.
AI vs Manual Methods: Which Wins for Hair?
Now, AI background remover tools have become quite popular.They can analyze the image and provide an editable cutout in seconds with good precision.Such qualities are more than sufficient for most general needs.
There are some complex images in which we have entangled hair, motion blurring, or a background of a similar color. Here AI tools can make mistakes. They might miss some strands or fail to create an accurate mask. These minor errors are not that important for casual use cases, while for high-quality image editing, they need to be addressed.
The manual approach for these type of cases requires more time, but the result is far more impressive. A human editor can fix some of the missed hairs or unwanted background elements that AI background erasers left untouched. It is the only way to achieve absolute precision that is critical for professional-grade images and editing.
The most effective way to deal with such cases is to use a two-step approach where AI is used to select the image, and manual editing is used to fine-tune some elements. While it takes more time than using a single automated background eraser, it still has a much better result than an automated approach and leaves all the hair details intact.
In most cases, the combination of manual and automated approaches is the best way to edit images in 2026.
Conclusion
Hair and fur are usually complicated elements to isolate due to their fine and delicate structure and often require extra attention during the editing process. However, a few useful tricks can help you achieve perfect cutouts every time. Select-and-mask, alpha channel, advanced edge masking, and special techniques for dealing with stray hairs can assist you in creating sharp and clean masks for fur and hair objects with ease.
Besides, you can also use various online tools to help you with more straightforward tasks. You can take advantage of https://bgerasers.com to quickly remove an unnecessary background and use all of the discussed above methods and techniques for advanced image editing. In combination with the suggested tools, these methods will allow you to quickly accomplish your task with ease and produce high-quality results.