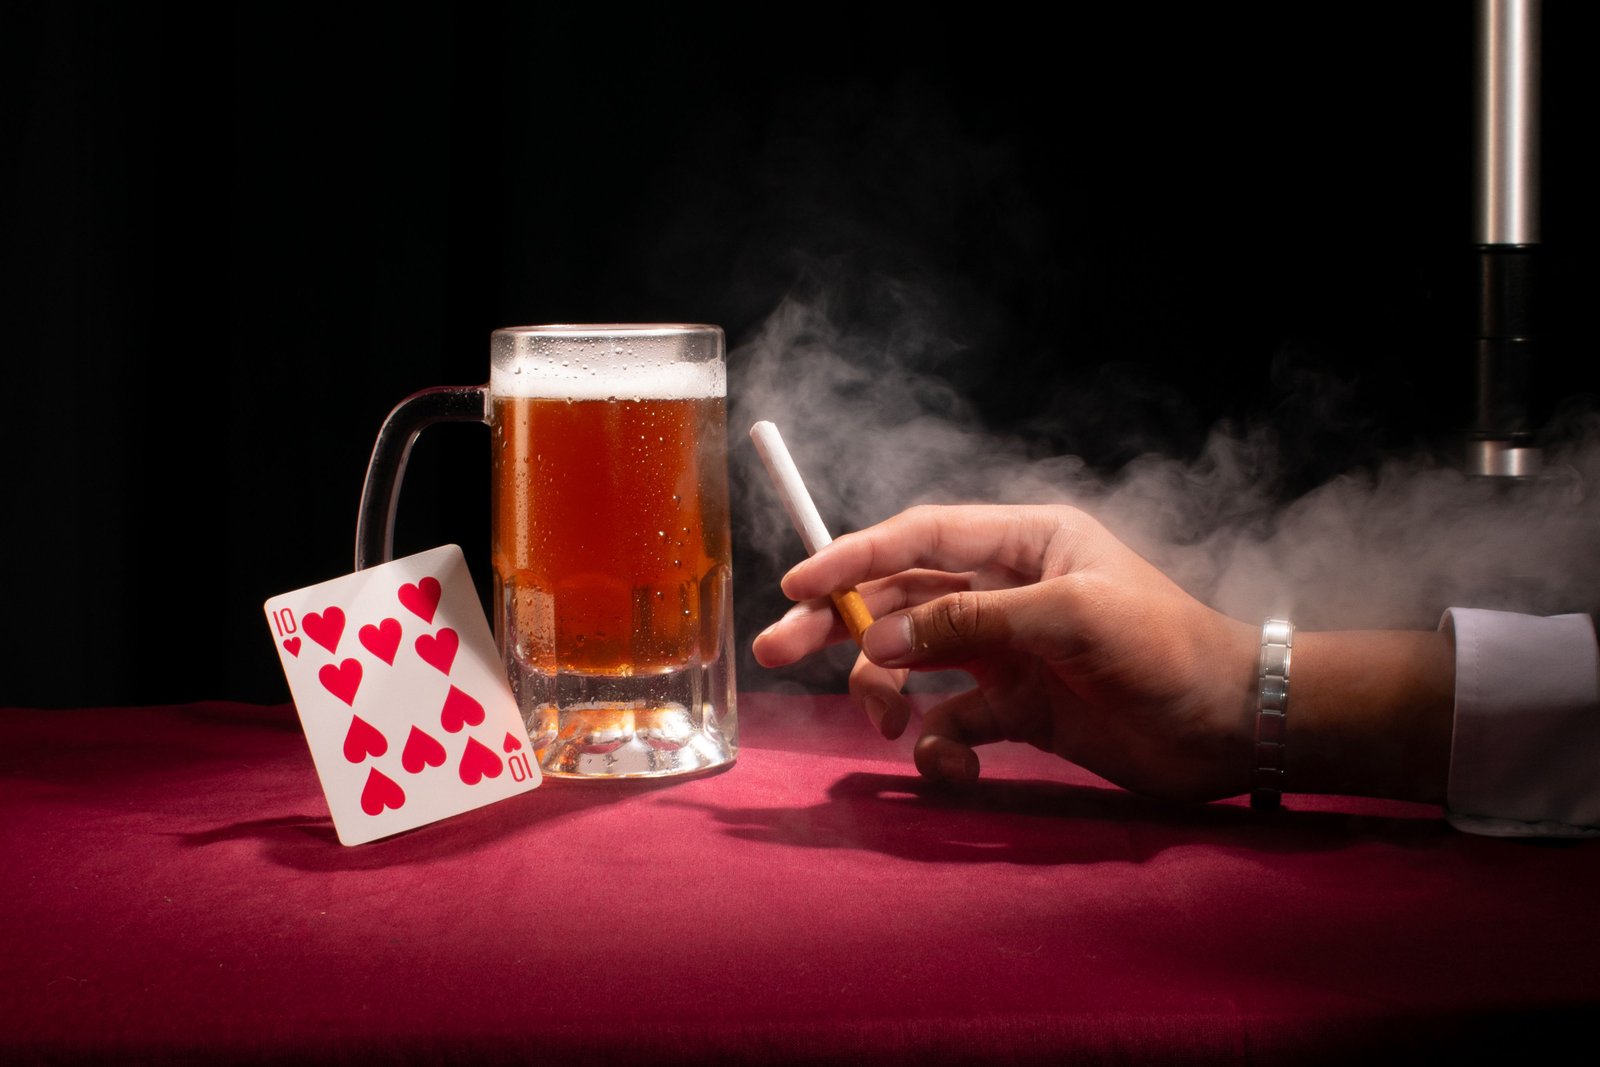
The first time I tried removing the background of a glass bottle was a complete disaster. It had been straightforward when working with an actual product, but when I used the same settings on the bottle, it lost all the effect, turning into a dull plastic bag. The image was ruined because all the elements that gave the illusion of glass were erased.
The fundamental difference between working with transparent objects is that they interact with other materials in a different way: glass distorts vision, smoke dissipates into the air, it is difficult to separate them from each other. Moreover, many clear materials have complex details invisible to an ordinary selection tool. Therefore, working with transparency is not an easy task requiring time and precision. Quick and dirty tools like Magic Wand or the automatic selection described above have very limited application and lead to unsatisfactory results in most cases.
Through practice, I learned that the most effective approaches are those that seek to retain transparency, rather than remove it. Throughout this guide, I'm going to demonstrate techniques that work best with glass, smoke, and other transparent media, as well as give useful advice that will help you save precious time and effort spent on failed experiments.
Why Transparent Objects Confuse Standard Tools
6 to 7 years ago, one of my clients sent me a picture of a perfume bottle and asked to remove the background and provide the result as a transparent PNG. At first glance, there was nothing suspicious - it looked like an ordinary request. But when I zoomed in, I noticed something interesting: the bottle wasn't really ending anywhere. The edges were full of reflections, faint highlights, and areas where the background was partially visible through the glass. There was no clean line for the software to follow.
A lot of background erasers are designed to seek out the simplest contrasts. Put a black mug on a white table, and the software has no trouble distinguishing between the two. In the case of transparency, it becomes much harder. If I were to put a glass of water on a table, a translucent plastic container, or even a soap bubble, there's a good chance that the pixels will contain traces of both the object and the background.
This is where problems begin. Some tools become overly aggressive and erase delicate details that make the object look realistic. Others play it safe and leave behind bright halos or leftover background contamination. I often see this with wine glasses where the thin rim disappears completely, or with smoke effects where the soft outer edges become harsh and unnatural.
The challenge isn't finding an edge. The challenge is preserving information that exists between fully visible and fully invisible. Once you understand that, it becomes clear why advanced techniques focus on transparency values, light, and tonal differences rather than simple selections.
Preserving Reflections in Glass Photography
I think it is necessary to mention that glass has two features - transparency and reflectivity. After all, the reflection on the surface of wine in a glass or a bottle, on the glass of an object, or on a window is also part of the image. By removing the gray background, we will not only remove the clutter but also get rid of the reflection; the glass will cease to be glass. It will lose its shape and volume and become something else. This is not what we want, so we should avoid removing the gray background.
For this reason, I would avoid using aggressive background removal for glass pictures. I always try to use masks and make adjustments to individual details. For example, when working with a still-life, I would try to remove all undesired gray colors surrounding the frame while keeping highlights and white spots untouched. In this way, I would get a more decent composition and realistic glass reflection without destroying the overall appearance of the selected image. Of course, it takes much time and effort to complete such details, but it is worth the SDR.
Editing Smoke and Fog Without Losing Detail
Smoke and fog do not have edges. They simply dissipate into the air, gradually becoming less dense until they are gone. A typical eraser tool will not work well here because it needs hard edges to wipe. Either you will be left with an unappealing, poorly defined silhouette or your image will look unnatural with all the wisps gone.
In such cases, I find it helpful to utilise the mask. Instead of erasing certain image areas, it is easier to reveal them gradually. One common scenario where I use masks is when I want to edit photos of concerts. In many such pictures, the undesirable background elements are superimposed on a thin layer of haze. Masking allows to easily remove such objects, while retaining the general impression of the background.
It may also be useful to utilise the contrast. For instance, if the photo has areas of smoke or fog, one may want to utilise their contrast with the background to make editing easier. The key point is to retain the subtle gradient at the edge of the dissipated haze.
Fixing Common Artifacts in Transparent Object Edits
You did the edit, but there is a small white halo surrounding the glass, or the smoke is poorly defined. There can be various issues that would spoil the best of images after the photo editing process due to several different factors. The most commonly occurring problems are the halo effect, the milky transparency, and the color bleed.
The halo effect is a thin line of the former background color, typically white, surrounding the objects on the borders. That is the area of the image that was previously occupied by the background. Incomplete transparency occurs when some areas of the object or graphic appear to be made of frosted or translucent material, while they are supposed to be transparent or made of a solid surface. Lastly, the color bleed is the transition of the background color to the foreground objects, tinting the image with a subtle hue of the background’s color.
There are several simple solutions to the problems above. The halo effect can be easily eliminated with the help of the Defringe tool. This tool can be found in the Layer > Matting > Defringe menu. One or two pixels are usually enough for the unwanted halo to disappear after defringing. On the other hand, the milky spots can be removed with the help of a layer mask. They should be painted away with a soft black brush to make the image more transparent. Finally, the color bleed can be removed with a Hue/Saturation correction layer clipped to the object to desaturate the unwanted tint. The described above simple manipulations allow achieving a professional look of an image without any unwanted trace of editing.
Best Practices for Liquids and Bottles
When working with bottles, I mentally separate the image into different parts. The glass, the liquid inside, the reflections, and the label all react differently to editing. For example, the amber color inside a whiskey bottle should remain deep and vibrant, while the glass around it should stay transparent. If both are adjusted the same way, the product can quickly start looking artificial.
This is why I prefer a layered workflow. Each element can be refined without affecting the others. A label may need extra contrast, while the reflections may only need minor cleanup. I recently used this approach for a beverage product shoot, and the difference was noticeable. The bottle retained its transparency, the liquid looked rich and realistic, and the final image felt much closer to what customers would see in real life.
Conclusion
Working with transparent objects is very different from removing the background from a simple product or portrait photo. Now, I know that glass, smoke, fog, and liquid containers require patience and careful adjustments rather than quick fixes. Small details such as reflections, soft edges, and subtle transparency often make the difference between a realistic image and one that looks heavily edited.
The key takeaway is to preserve what makes these objects look natural. Whether you are protecting highlights on glass, maintaining the delicate texture of smoke, or separating the different elements of a bottle, careful editing always produces better results than aggressive removal techniques.
If you don't have the time to master complex masking and photo editing techniques, there is a more suitable option for you. At BG Erasers, we specialize in making the backgrounds and clutter disappear for photographers, online sellers, and businesses. Each image is perfected to create an end result that enhances the subject matter itself!